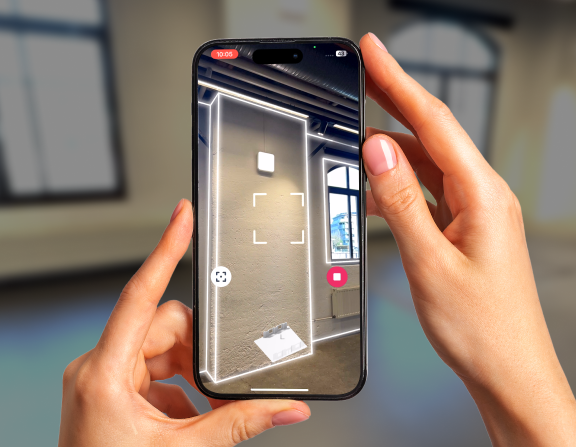
From Scan to Plan with Precision.
Scan rooms or entire buildings with your iPhone Pro or iPad Pro and export accurate 3D room models for your CAD software.
TRUSTED BY
TRUSTED BY
More time-efficient
compared to conventional spatial planning methods
Saved annually
on average through faster, smarter project execution
Hours Saved yearly
on average by digitizing your workflow from scan to export
Created 3D models
with true to size measurements and successful project outcomes
- How it Works
The simplest workflow in 3D modelling
Just 3 steps using your iPhone Pro or iPad Pro Lidar scanner to digitize any space and get a ready-to-use 3D model or 2D floor plan.

Step 1 – Scan a space
Capture a room or buildings
Transform your Apple Pro device into a powerful Lidar 3D scanner. With the Metaroom Scan App you can create true-to-size 3D room models in minutes.

Step 2 – Interact with your 3D model
Customize your 3D model
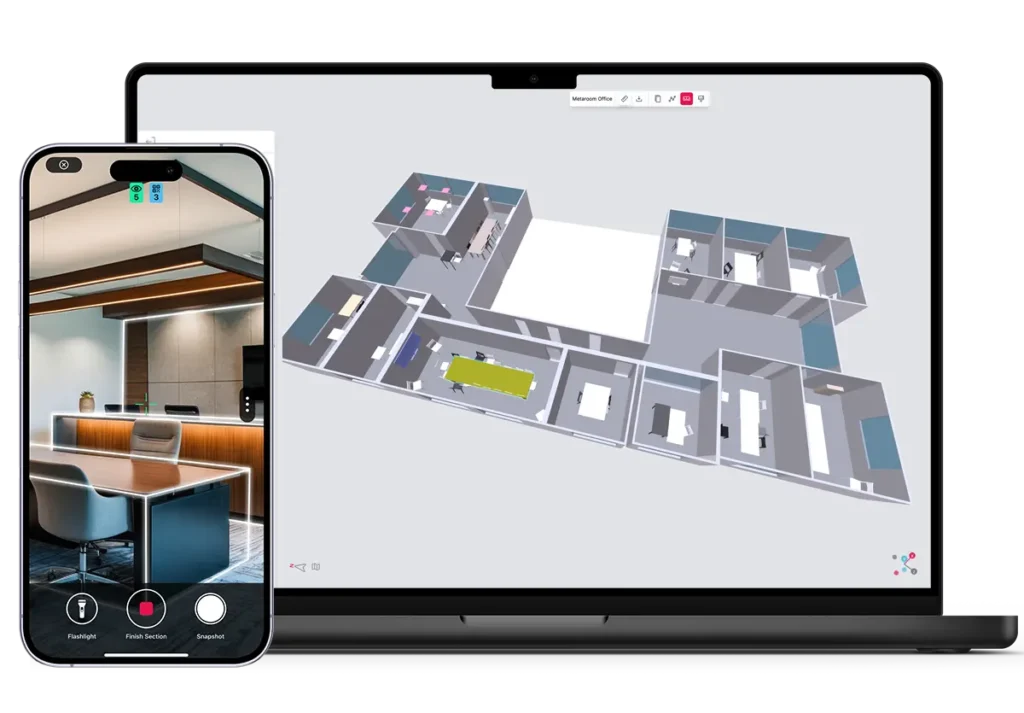
On your desktop, open your browser and visit Metaroom to access your 3D model. Review and customize it to meet your exact needs.

Step 3 – Integrate into CAD software
Export CAD ready files
Download your customized 3D model in the preferred export formats, ready for professional applications.
- Metaroom Platform
Explore the Metaroom platform

- 01 - SCAN
Capture a space
Say goodbye to bulky equipment—your phone, paired with the advanced Metaroom Scan App, becomes the ultimate 3D scanning solution. Scanning is simple, requiring no expert knowledge.
- 02 - INTERACT
Customize in the Workspace
Simply open your browser on your desktop to access and customize your 3D models. Share your room models and collaborate seamlessly with your team in the Metaroom Workspace.


- 03 - INTEGRATE
Export CAD files
Use integrations or export your 3D models to your preferred CAD software. Our exports ensure professional results with consistent accuracy and detail.
Step inside Metaroom
Explore the unique features of the Metaroom’s platform to streamline your planning workflow and export detailed 3D models.

- Capabilities
2D or 3D? The Choice is Yours.
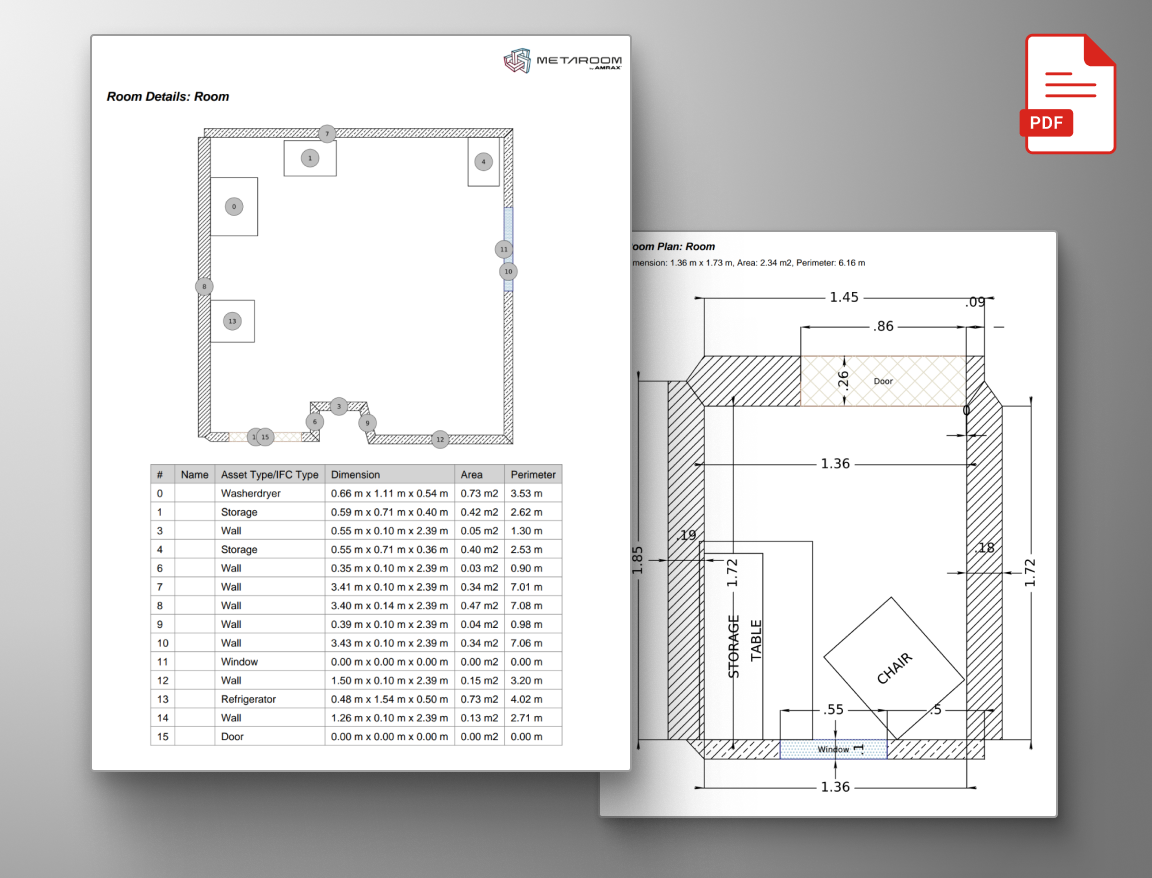
2D Floor Plans & Reports
Metaroom offers two key formats for 2D floor plan exports: 2D DXF for continued work in CAD software, and 2D Project Reports in two PDF formats for detailed documentation.
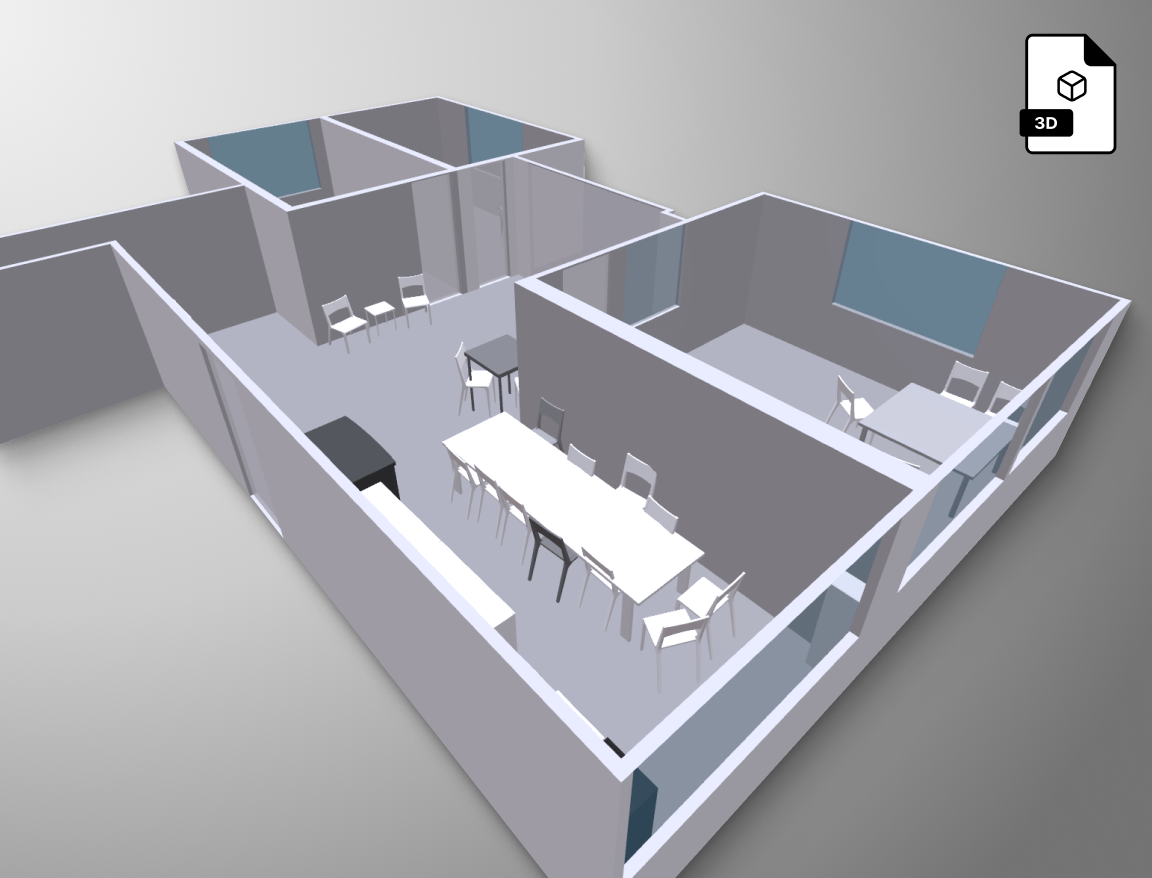
3D Room Models
Metaroom provides versatile 3D room models compatible with various 3D CAD programs. Our export supports over 15 formats, including industry standards like IFC, DXF, and GLB.
- Industries
Who's empowered by Metaroom?
Discover how Metaroom is changing the industries of spatial planning by digitizing the whole process.
Light planning
Explore successful areas of the Metaroom Solution in light planning and design.
- Learn more
Architecture & interior design
Discover how you can save time with Metaroom and focus on your creative design.
- Learn more
Wireless network planning
Learn how Metaroom can streamline your workflow in wireless network planning.
- Learn more
Facility management
Explore the new way of digital facility management with the Metaroom solution.
- Learn more
Building information modelling
Uncover how Metaroom enhances the Scan-to-BIM process and streamlines your workflow.
- Learn more
Real estate
Metaroom supports 2D plans and 3D models for the most simplified real estate planning process.
- Learn more
Energy consulting
Explore the new way of fast 3D room models for energy planning software.
- Learn more
Carpentry and Woodworking
Discover how to easily digitize project sites with the Metaroom 3D Scanning & Modeling solutions.
- Learn more
- Testimonials
Why professionals choose Metaroom
Dieter Polle
CEO @ DIALux
“Simply scan the room with your smartphone and start planning right away. Wouldn’t that be fantastic? By integrating Metaroom into DIALux, this is now possible. The time-consuming task of constructing the geometry before starting the actual lighting design is eliminated. With this integration, we’ve made life a bit easier for lighting designers.”
James Cook
Industry and technology partnerships
“Embedding Metaroom’s 3D models within Autodesk Construction Cloud helps teams understand the real-life context of the Issues, RFIs, Submittals and more that they track in Autodesk Construction Cloud, helping them make better-informed decisions.”
Markus Hegi
CEO @ Relux Informatik AG
“This partnership has the potential to revolutionize the way external field staff interact with its customers. The partnership between AMRAX® and RELUX is an important step in the development of design and construction technologies.”
Georg Emprechtinger
CEO @ Team 7
Digitalization is an important trend that influences and changes our lives and economies every day. In the furniture industry, we need to drive automation and digitalization in order to remain efficient and competitive in the long term.
Marc Mörgeli
Lighting Consultant & Project Manager
“Metaroom® has revolutionized my workflow by significantly reducing the time I spend on measurements, compared to traditional laser methods. Its intuitive design simplifies my work process, freeing up valuable time for more critical tasks.”
- Awards & Prizes

